|
Lava Member Posts: 1905 From: Registered: 01-26-2005 |
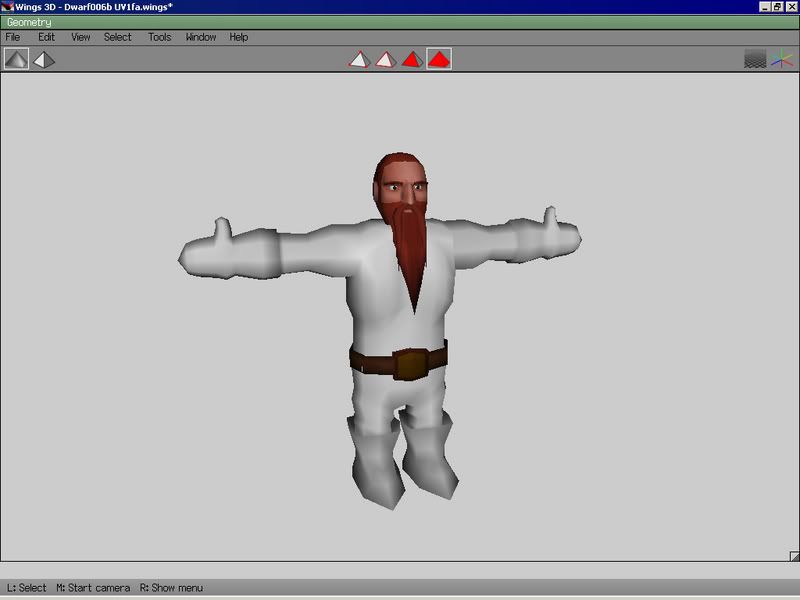
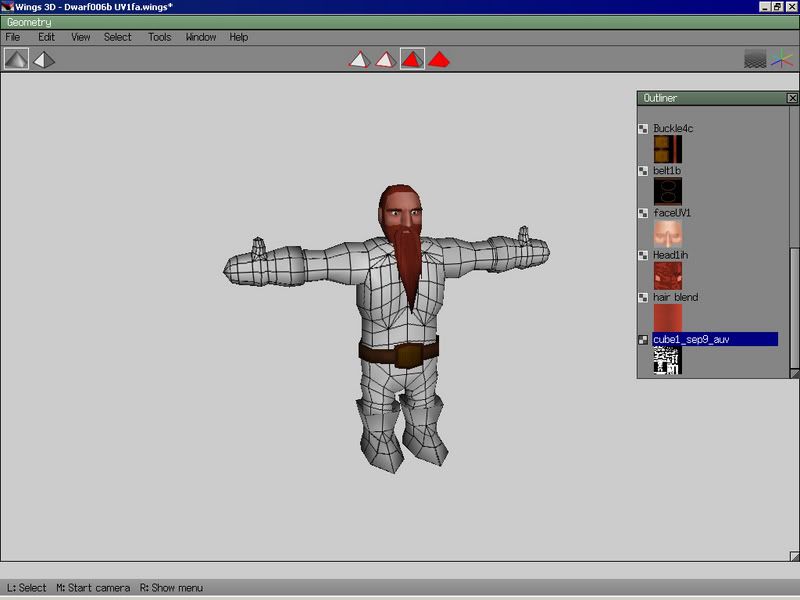
This tutorial is on how to texture in Wings3D. I have loaded my Dwarf model to use in this tutorial. For this I am going to just texture the body, I will not texture his head or belt, because I just want to demonstrate the main ideas. And for reference, when I say "click" I mean left click and when I say "right click" I mean right click. Feel free to ask any questions, but make you have read and followed this tutorial, so that way I do not answer questions already answered in this tutorial Tutorial Step 1 Ok, first basically, load your model up. Then for this tutorial, you should have advanced menus on. So at the menu click on edit > preferences > Advanced > Advanced menus then click ok.
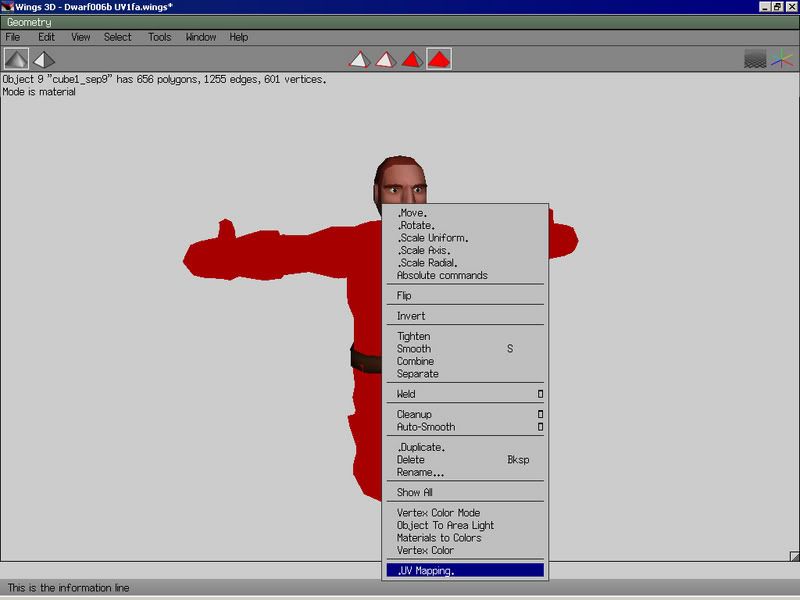
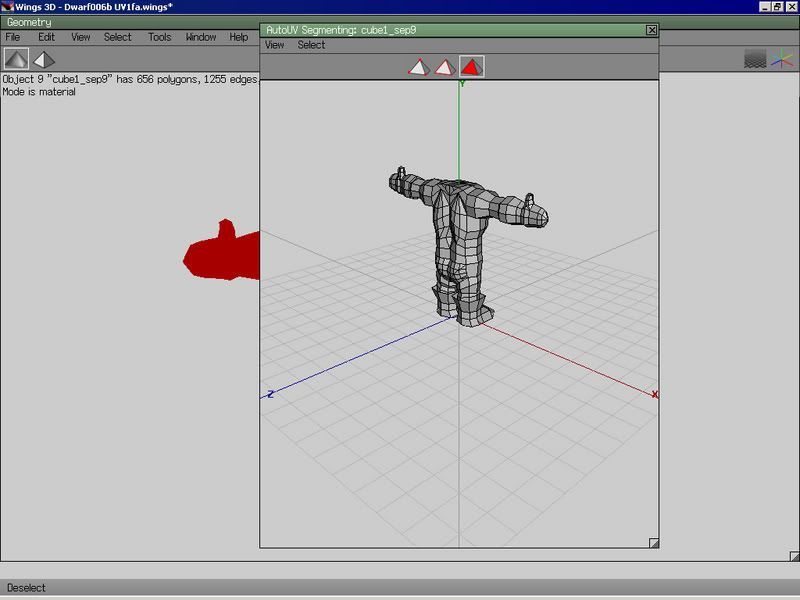
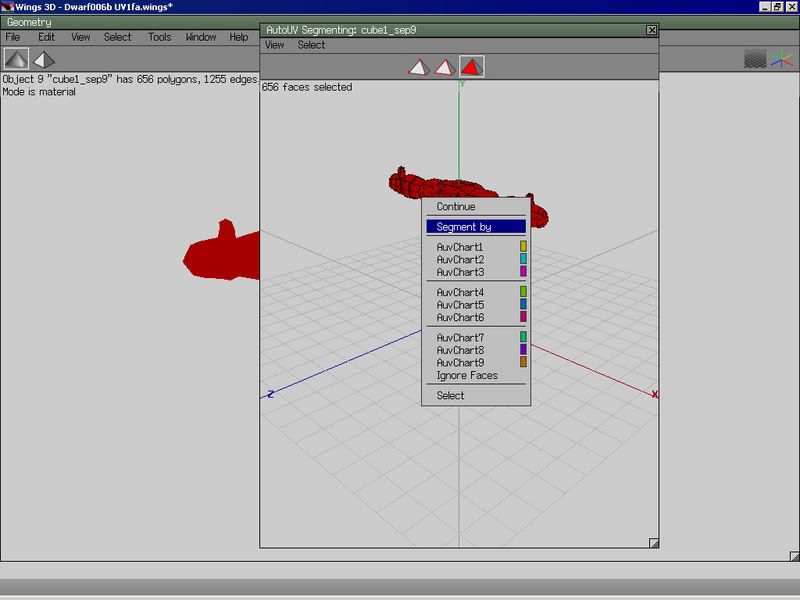
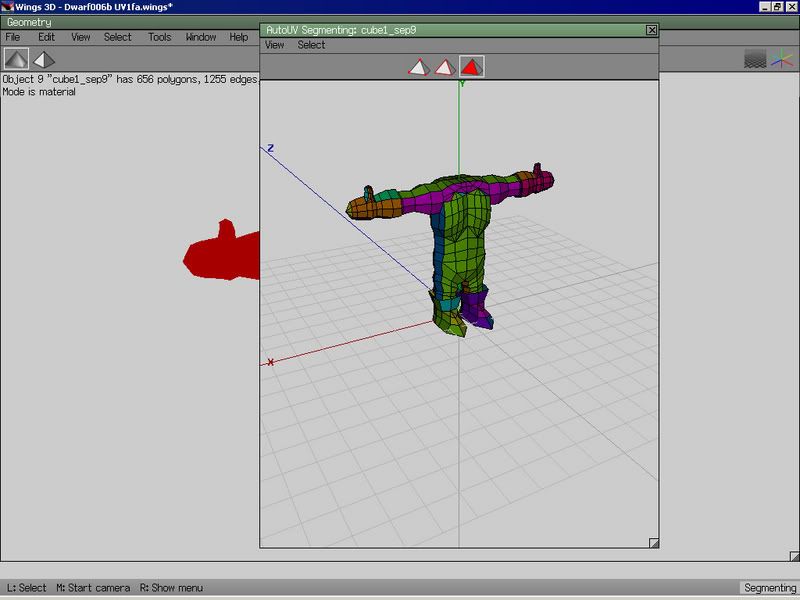
Then, at the top of your viewing space, there are 4 triangles in the middle, click on the one on the far right. Then right click on your model and click on UV Mapping. Step 3 That should load the UV mapping window as seen below: Step 4 Next, select your model and right click on it and then segment by > projection. Step 5 These colors on the model will map a face on your UV map, so like say you had a cube and you cut it into more faces and wanted to map some of the faces on a different place on the map, you would color one face one color and the other face another. And then the projection colors the model in a somewhat random pattern, you can color the faces manually. There are so many different methods of UV mapping faces on model, but for this tutorial we will use projection.
------------------ |
|
Lava Member Posts: 1905 From: Registered: 01-26-2005 |
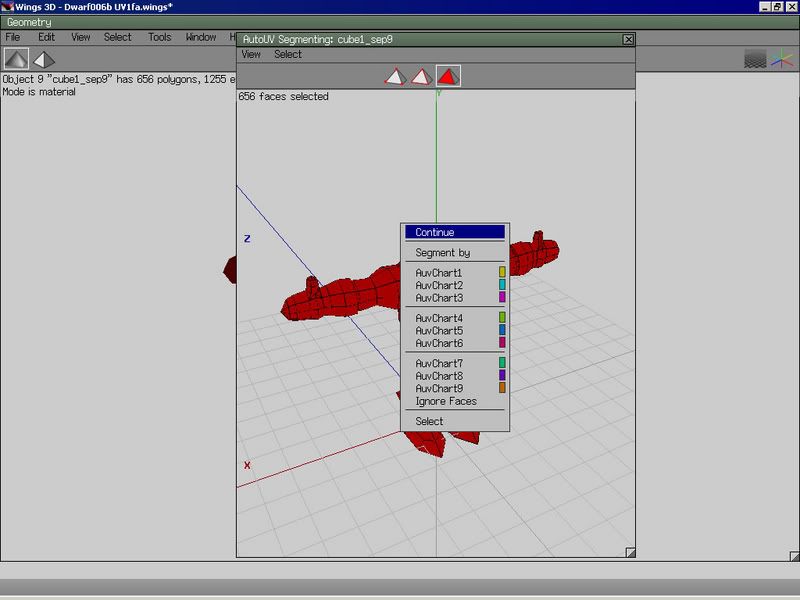
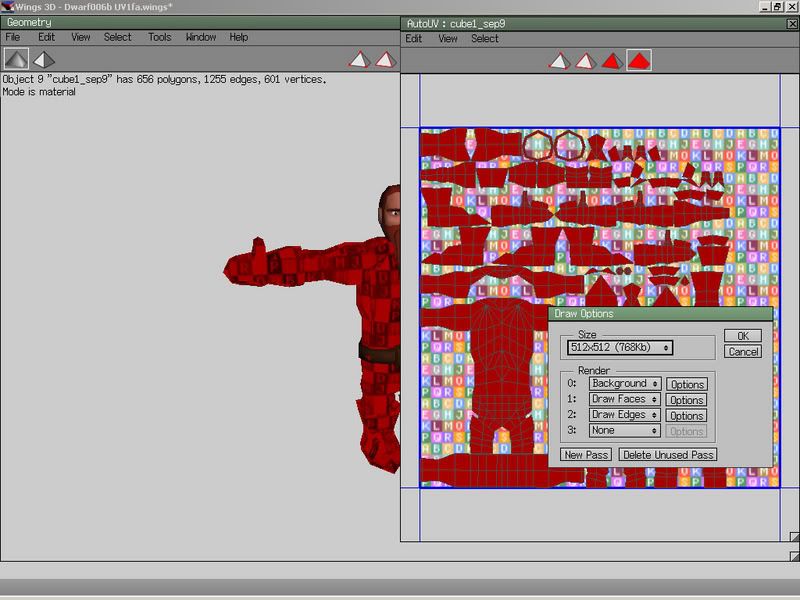
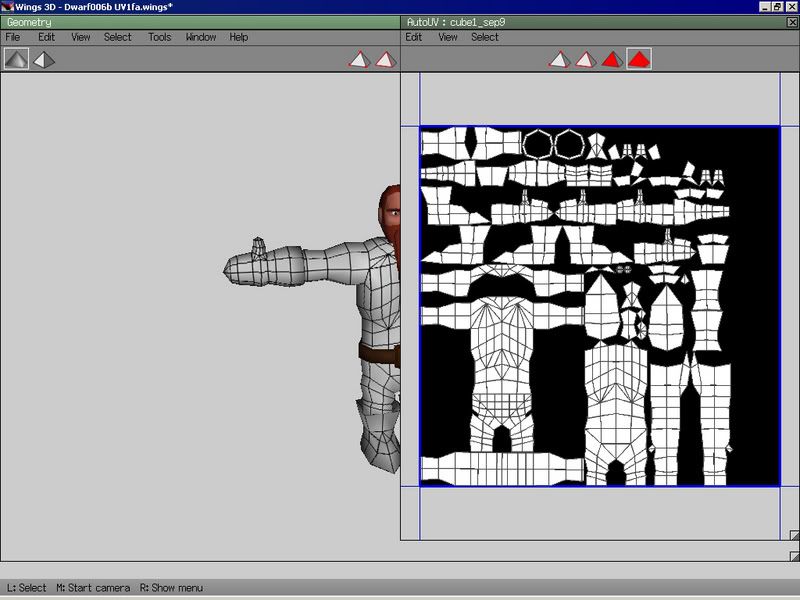
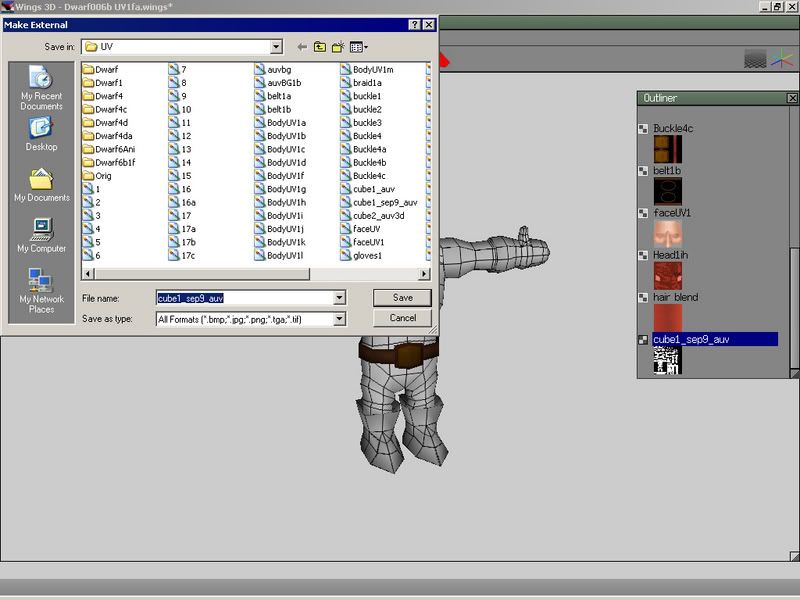
Step 6 Ok, we got our faces colored, now to map them and make a texture. Right click on your model (with it still selected), go to continue > projection normal. Projection normal isn't like the segment projection. Project normal projects your faces on the map, whereas segment projection is more like a random function to color your faces. Step 7 This mapped your faces, but it didn't map them on a texture. It's a good period of time now if you want to move the faces around before you texture your model. Now to texture your model, first right click on the image, second click on create texture, then click ok. Step 8 Your texture is made and automatically applied, now to save your texture. Close the texture viewer window. Step 9 Now is the time to get out the outliner. At the top menu click on window > outliner. Outliner is a vital part to most of your texturing and material needs because it lists all of the independent models, materials, imported images and textures. On the outliner, scroll down and you will see a texture preview resembling the texture you just made, right click on it and click on export. Step 10 A save window should come up. Save your texture whatever you want, then it's ready to edit! You can edit it in any 2D graphics program. Then just go to on the menu, file > import image, import your image. Now remember, the texture you made in the UV mapper is in internal. You can export your model and the texture will be exported *only* if the texture is internal. The model will only read the internal textures if there are any and anything it doesn't read will be white. To make a texture internal, right click on the texture and click on make internal. The good part about having a external texture is that when you edit it on a 2D graphics program, in Wings you can just go to your texture on the outliner, right click it and click on refresh and it will refresh the changes, without reimporting the texture. Internal textures cannot be refreshed. Also as one last note, if you have a internal texture and import a external texture with the same name, it will rename your external texture (only in Wings not on your actual file) to with a 2 on the end. Well that's it, *again* feel free to ask questions, but make you have read and followed this tutorial, so that way I do not answer questions already answered in this tutorial ------------------ [This message has been edited by LAVA (edited October 18, 2006).] |
buddboy Member Posts: 2220 From: New Albany, Indiana, U.S. Registered: 10-08-2004 |
yay its done!!! ------------------ | |
|
buddboy Member Posts: 2220 From: New Albany, Indiana, U.S. Registered: 10-08-2004 |
so you cant export a texture if you import it into wings? ------------------ | |
|
Lava Member Posts: 1905 From: Registered: 01-26-2005 |
quote: Yes you can, you can export internal images. ------------------ |